Project Overview
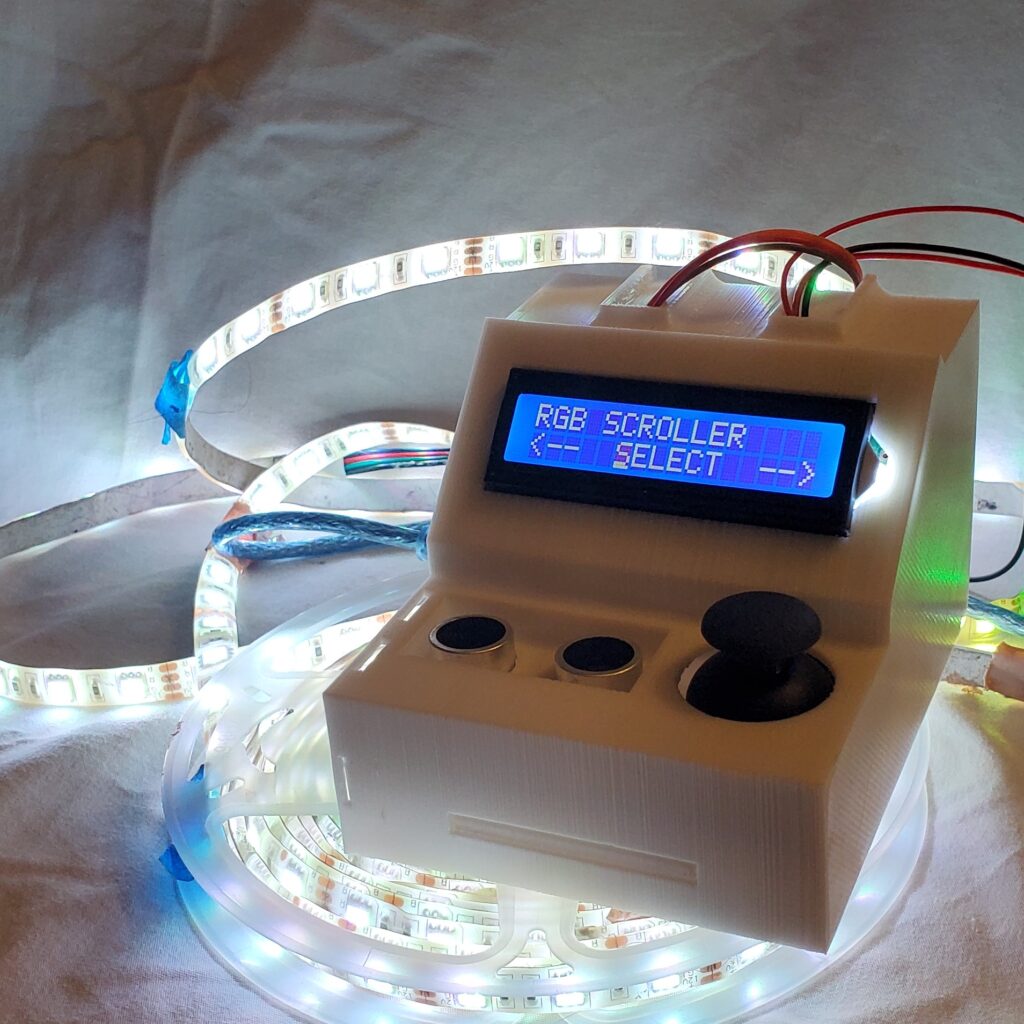
Using the Arduino platform, I wanted to create a method of controlling standard 5050 RGB 12V LED strips. This was partly a learning experience in electronics and Arduino programming, but also an attempt to add improved functionality to LED strips over the standard shipped IR remote.
Core Functionality
- Ultrasonic sensor to turn the LEDs on or off with a wave of the hand
- Ultrasonic sensor brightness slider – lift the hand for bright, lower it to dim the lights
- LCD screen with a joystick for navigating a variety of menus:
- Pre-programmed fixed colours
- Fade & jump modes
- Custom speed for fade/jump
- RGB manual selection for custom colours
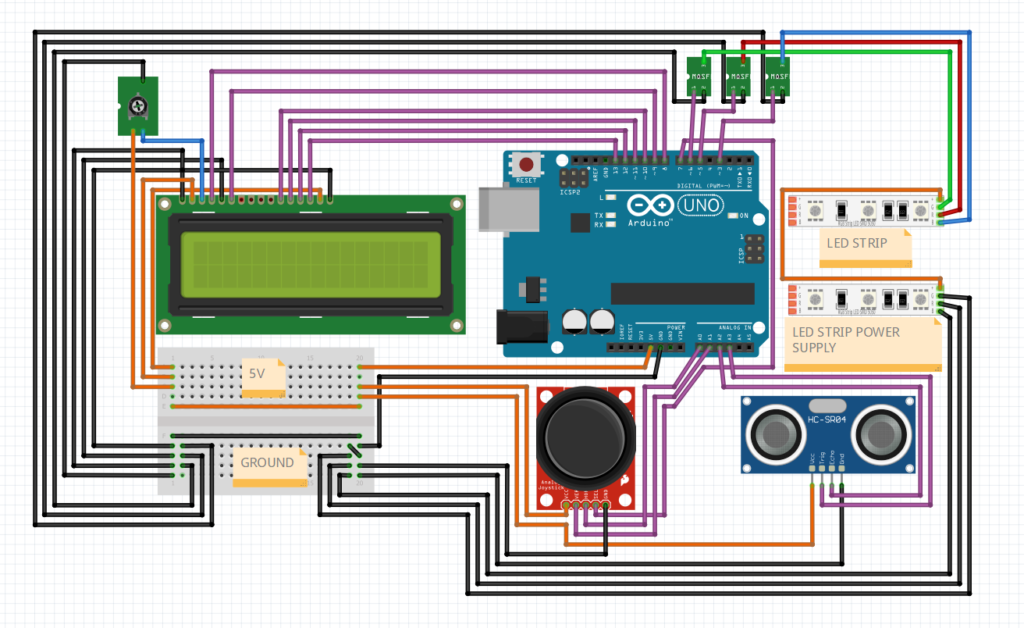
Electronics
Components Used
- Arduino Uno R3 Controller Board
- Arduino Prototype Expansion Module (ProtoShield) (not needed, can wire directly into Arduino)
- 3x N-Channel Transistor
- 10k Potentiometer
- HC-SR04 Ultrasonic Module
- Analog Joystick Module
- LCD 1602 Module (with Pin Header)
- RGB LED Strip with Power Supply
- Dupont wires
- Male-Female x21
- Male-Male x14
- Note – all components minus LED Strip & Power Supply were obtained together in the Elegoo Uno R3 Super Starter Kit
Components were then wired together in the following configuration:
Code
The full code used to control the various components and LED behaviour can be found on my GitHub account here:
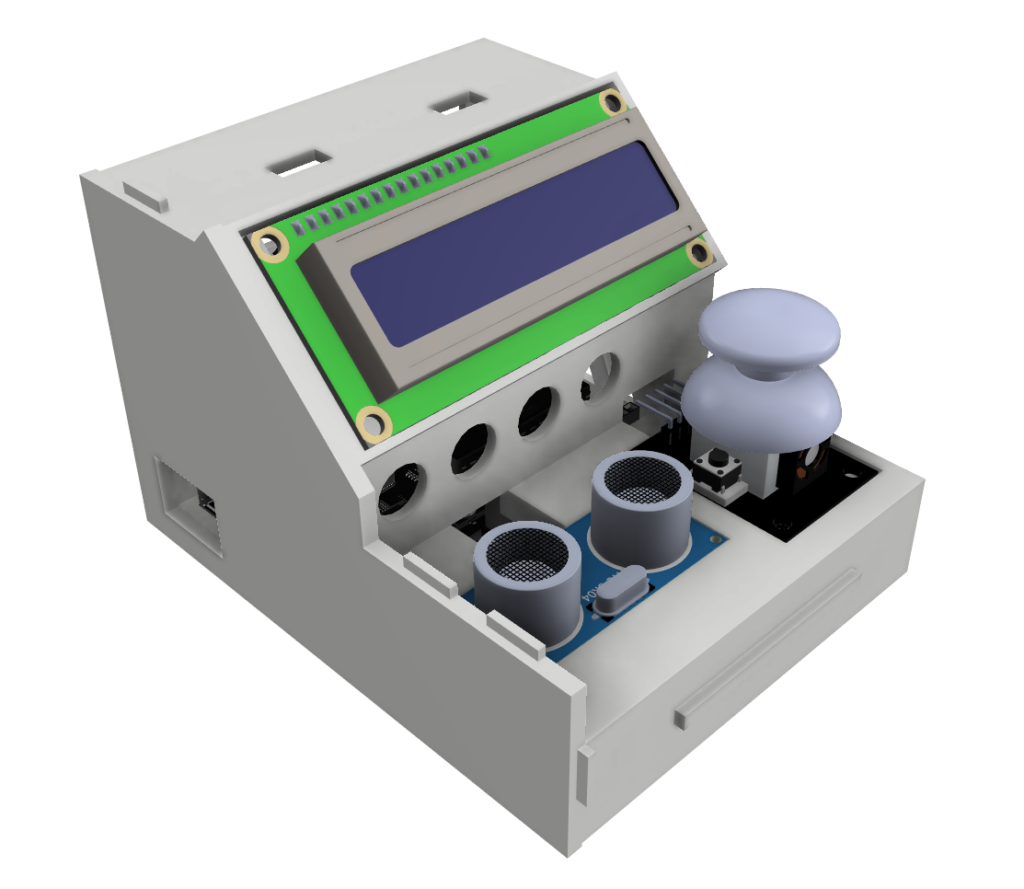
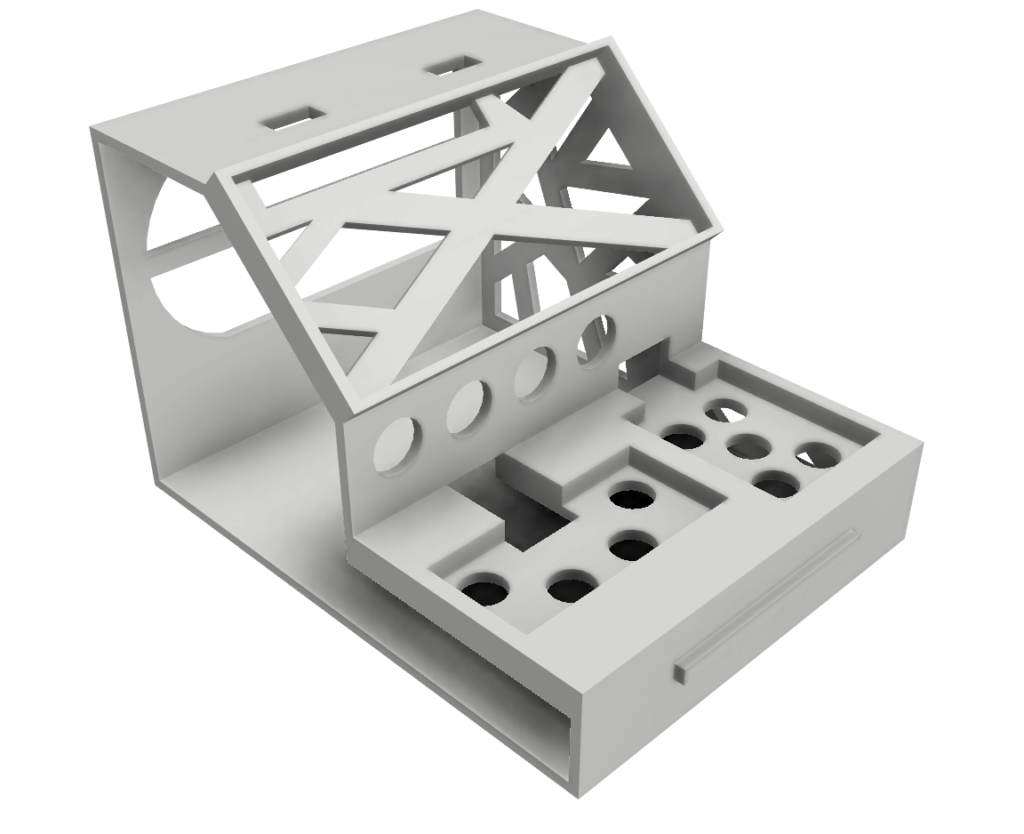
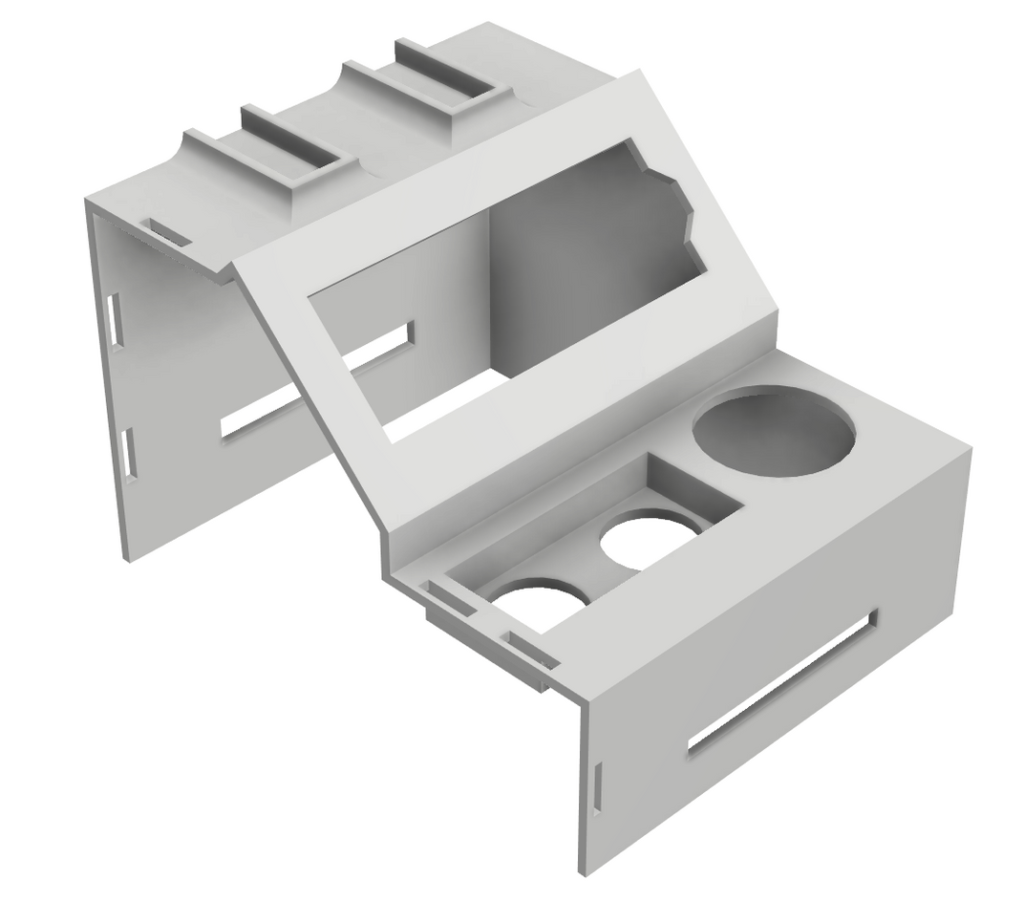
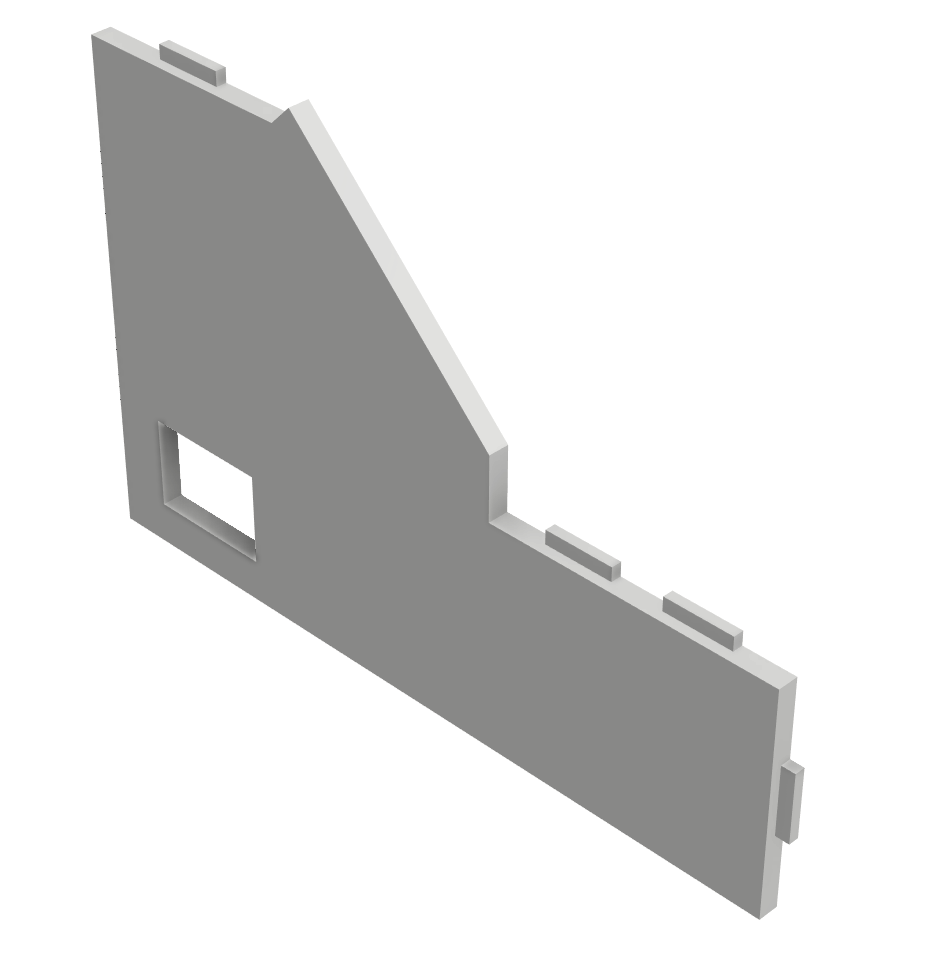
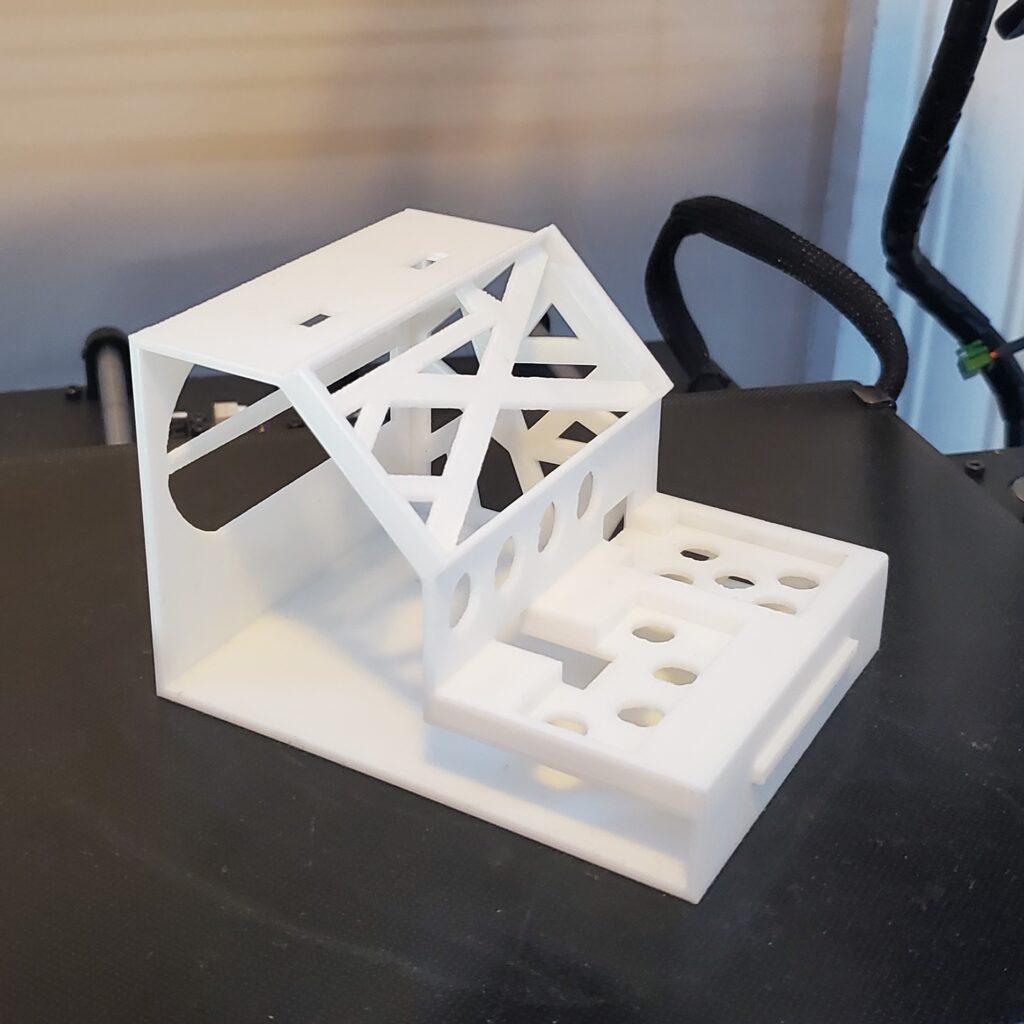
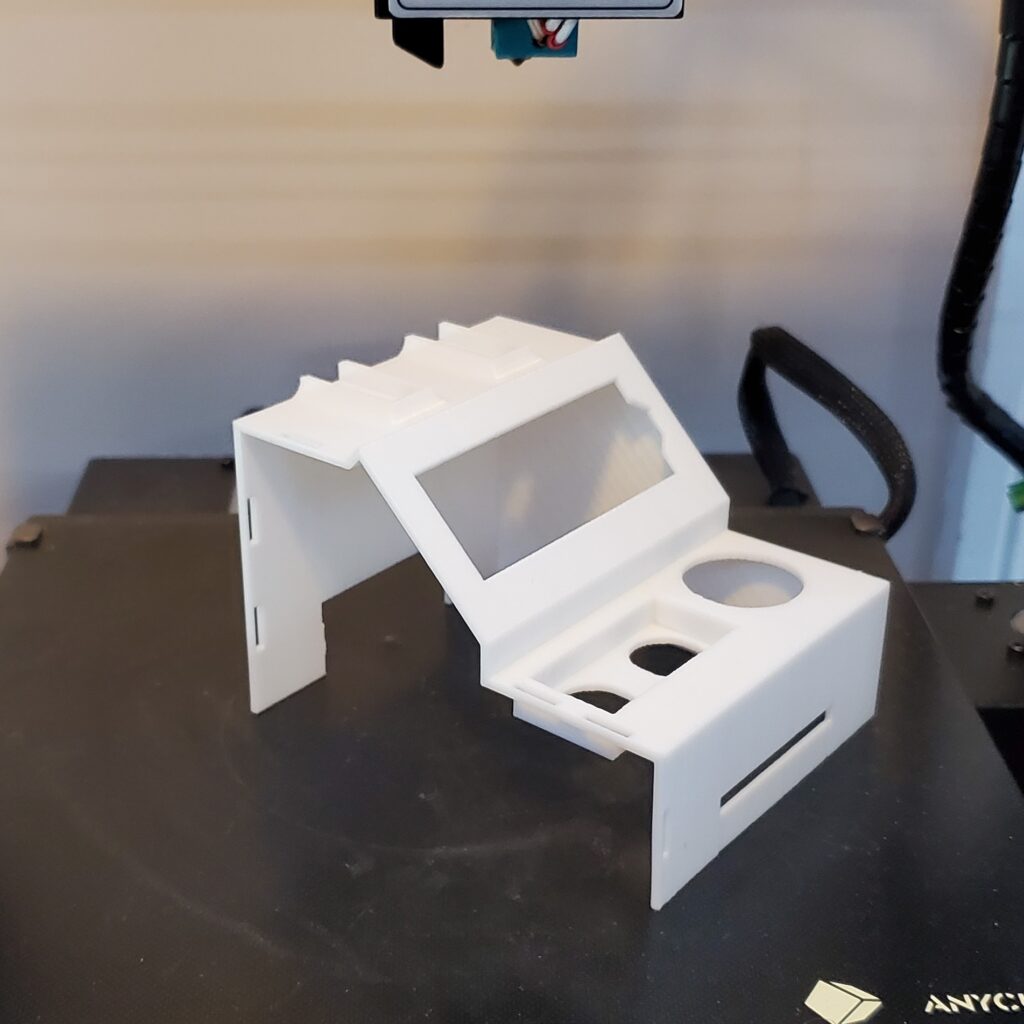
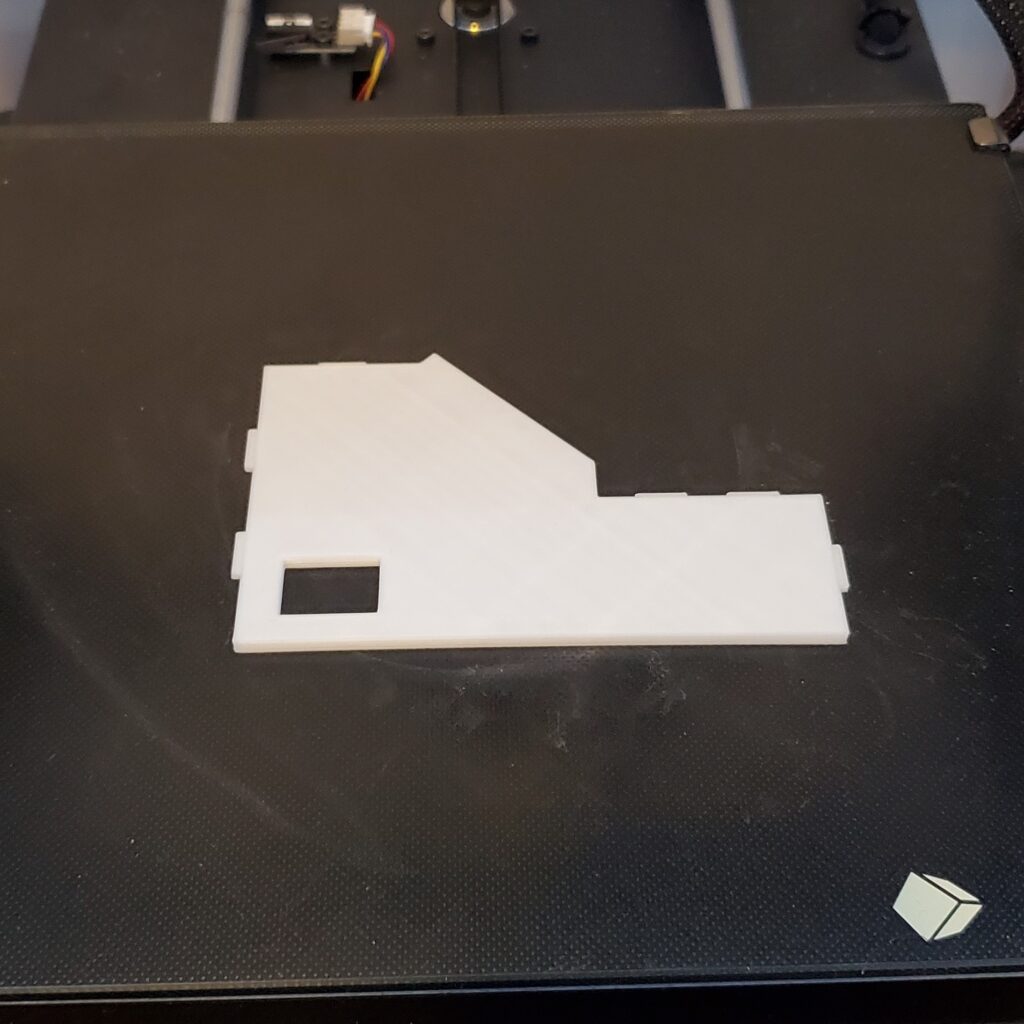
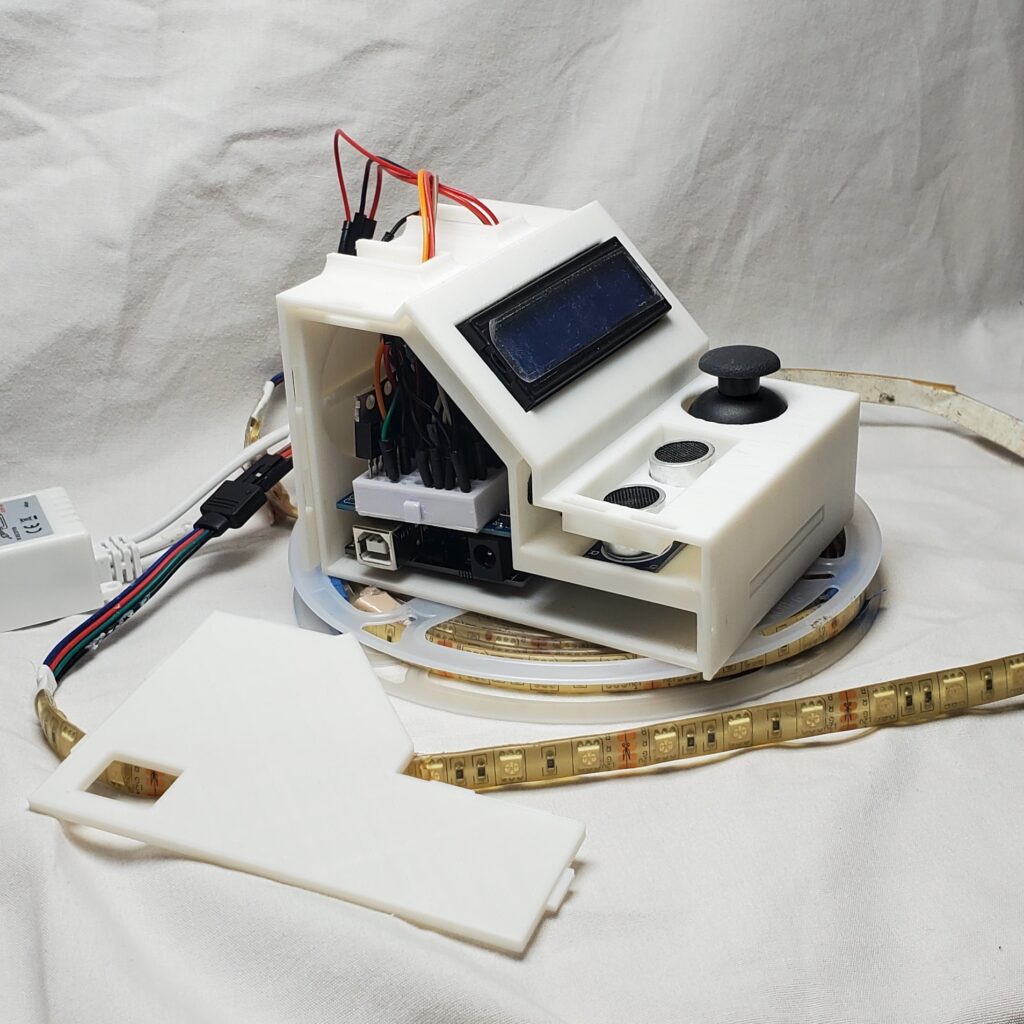
Housing
After prototyping the electronics, I wanted a 3D printed housing to enclose all the electronics and permit easy intuitive use of the system. In production runs, much more elegant, smaller solutions could be obtained with better cable management & custom PCBs, but this was an excellent learning experience for my first Arduino project, and my first use of my home 3D printer.
Final Working Demo
The video below demonstrates basic functionality – turning the lights on and increasing brightness with the ultrasonic sensor, selecting preset colours, selecting custom RGB colours, using the fade mode, and changing the fade/jump speed.
Future Developments
With an established codebase and a housing for the full system, the initial scope of the project was completed. However, there are numerous directions I would like to take this project in future:
- Improved Housing & Wiring
- Current wiring takes up lots of space, and housing is designed for basic functionality rather than ease-of-use and aesthetics. Rewire with low-profile wires, or develop custom PCB to reduce electronics footprint. Redesign housing to create an elegant, beautiful product.
- Music responsiveness
- By connecting a microphone, music responsiveness of the LEDs should be simple to implement based on detected volume, or at a more advanced level, add networking and integration with a music player API such as Spotify
- Notification alerts
- One of my favourite, albeit most complex, ideas – I’m interested in networking the Arduino and connecting to a user’s phone to dynamically show incoming notifications. Imagine your home smart lighting system briefly turning blue to signify a Facebook notification, or perhaps a red or green flash depending on whether the notification is important or wait-for-later.
- Plan sunrise alarm clock
- Super simple to integrate – add a clock module, program the timer with the existing LCD and joystick – and now you have a low-cost sunrise alarm that integrates with your existing LED strips!
- Tidy up code & rewrite for improved modularity & open source
- Tidying up the code will make it easier to read and easier to develop additional functionality. After this, I would love to make this whole project open-source and help others to develop their own custom code modules to interface with the existing codebase.
- Power supply integration to drive RGB strip
- It is not elegant, nor 100% safe, to use the existing LED strip’s power supply wired into the strip via the Arduino. Obtaining a custom 12V power supply for the strip power would be easeier